Key facts
- Beast Studios advertises 11 infected types but has not published the full roster.
- Demo Update #1 tripled the Brute’s health and reworked its collision.
- The Night Roarer is officially nocturnal and powerful, but its stats and counter are not published.
- Every gunshot creates noise that can pull infected from outside your view.
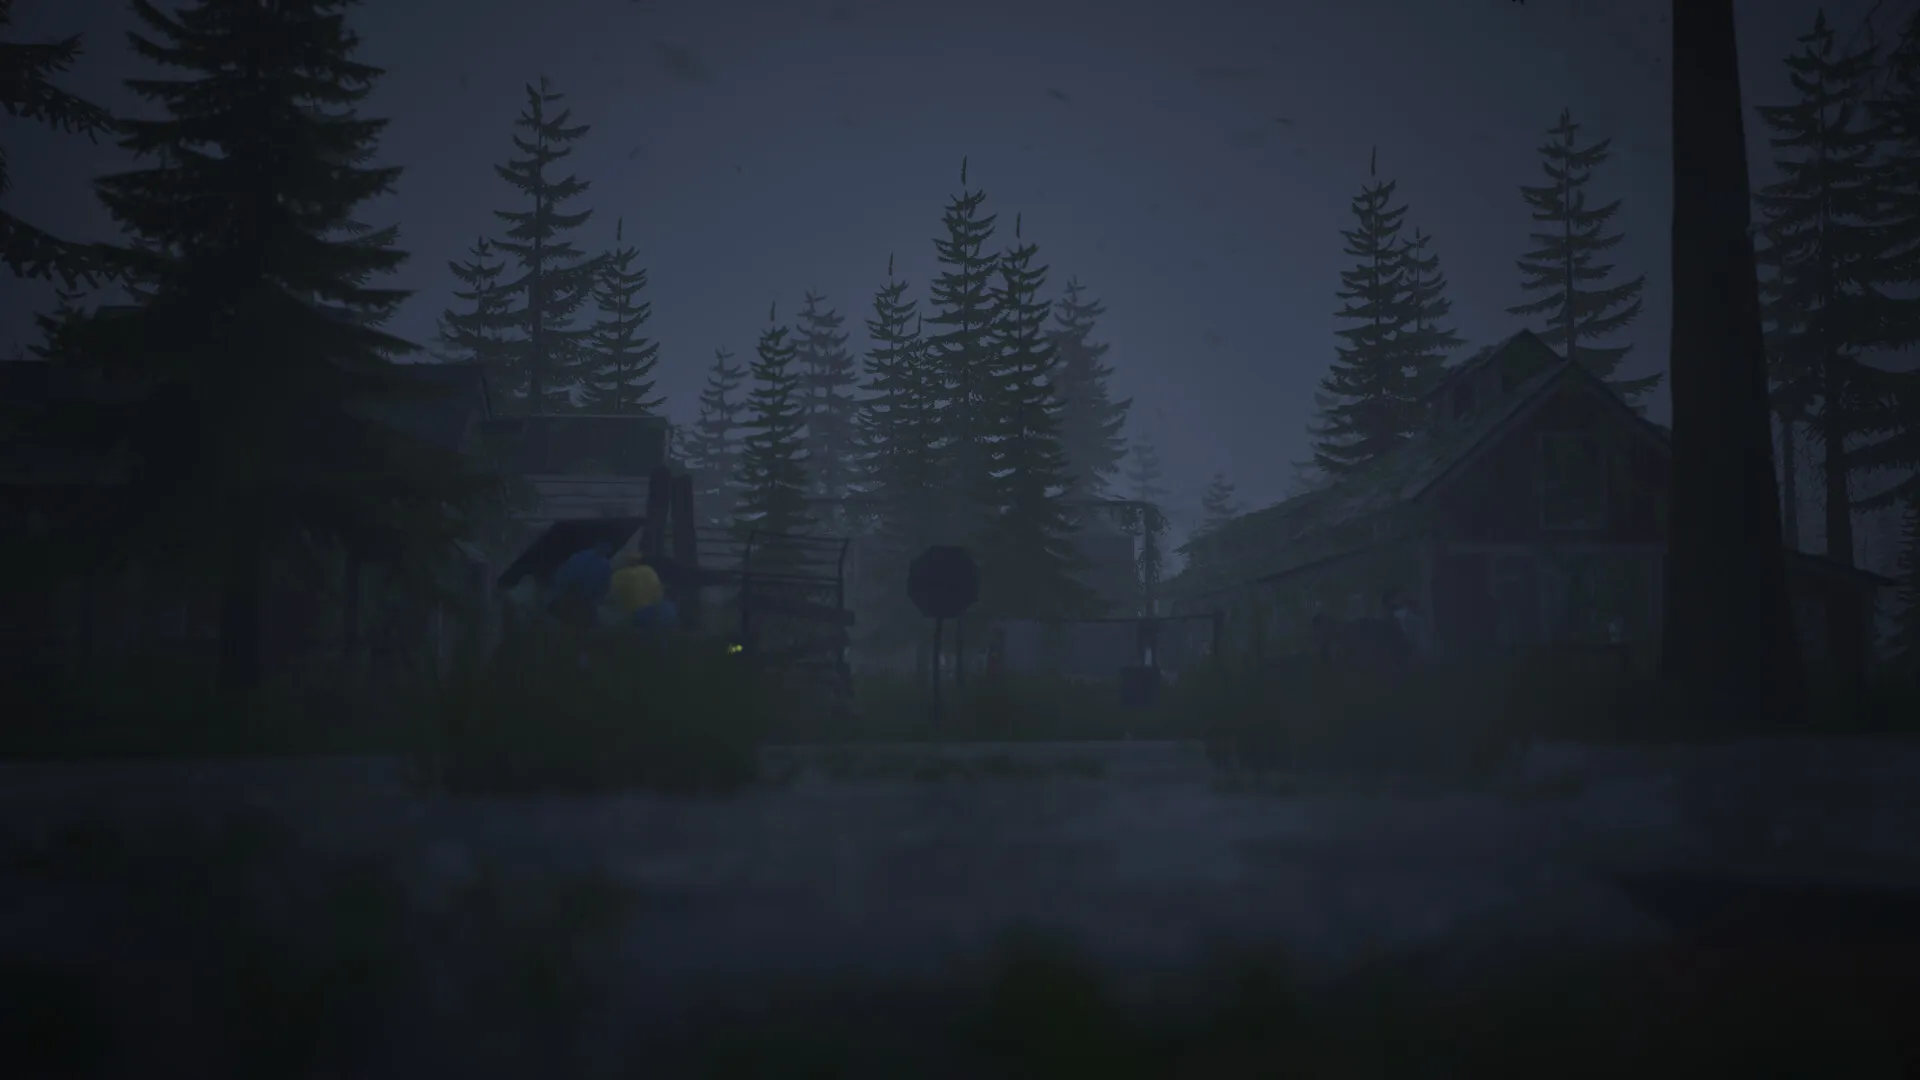
The infected in Never Be Alone are not a damage race. They are an attention system. The official feature list says every shot creates noise and noise attracts attention; the demo shows what that means when a single gunshot pulls a second group through the trees.
This guide covers the three principles that apply to every encounter, then the specific response for each documented type. It does not invent health values, weak points, or drop tables. Where the public record is empty, it says so.
Principle one: noise is the aggro system
A shot is not just damage. It is a location broadcast. A running generator, a vehicle engine, a door, and a breaking arrow all make noise too.
Practical rules:
- Use a blade or bow for one isolated walker. Save firearms for a group, a Brute, or an emergency.
- Shoot from cover, then move. The shot has already told everything nearby where you were.
- Do not fire into a crowd from a doorway you need to retreat through. The doorway will be full in a few seconds.
- A suppressor reduces the signature; it does not make you silent. Treat it as a volume knob, not a mute button.
Principle two: light is a choice
At night you cannot see far. A weapon-mounted flashlight lets you see without giving up your hands, and it also tells everything nearby where you are.
The trade is not “light good” or “light bad.” It is:
- Use the light to identify. A silhouette at 20 metres could be a walker, a Feral, or a survivor.
- Turn it off to move. If you already know the route, light is mostly a beacon.
- Use environmental light. Fires, string lights, and safezone lamps are landmarks and hazards at the same time.
The carnival is the clearest example: the lights make the Ferris wheel visible from a distance, and they also make the infected inside visible only when it is too late.
Principle three: space is a weapon
A doorway, stairwell, fence line, or vehicle turns three attackers into one. Open ground turns one Sprinter into a problem.
Before you fight, identify:
- A choke point you can back into.
- A second exit if the first one fills.
- A piece of height — a roof, a ledge, a truck bed.
- A reason to leave that is not “I have already committed.”
If you cannot name those four things, you are not in a fight. You are in an ambush you have not noticed yet.
Walker
What it does: moves slowly, often in loose groups, follows noise.
What to do: fight the group, not the individual. Back into a doorway and keep one approach. Use a blade if you can break line of sight; use a gun if the group is already too close.
What not to do: stand in the open and pick them off one by one while a second group arrives behind you.
Sprinter
What it does: closes distance fast. The official description names Sprinters as fast-moving; demo footage confirms the pressure.
What to do: put a wall, vehicle, or doorway between you and it before you raise a weapon. Break line of sight instead of backpedaling across open ground. Fire when it is committed to a line, not while it is weaving.
What not to do: reload in the open. The Sprinter’s advantage is the seconds you spend doing something other than moving.
Feral
What it does: moves on four limbs with an erratic profile. The official description names Ferals as four-legged; demo footage shows why they are hard to read at range.
What to do: get height or force a straight approach through a doorway. Wait until it is committed before firing. If you cannot read it, leave; a missed shot is a noise invitation.
What not to do: trade hits in tall grass. The silhouette disappears, and the fight becomes a guessing game with your health.
Exploder
What it does: detonates at close range. Demo footage shows an exploding infected in a hospital encounter; Beast Studios has not formally named it in the public roster.
What to do: kill it at range or route around it. Clear interiors from a distance and keep an exit behind you.
What not to do: melee it, stand next to it, park a vehicle beside it, or let a co-op partner stand in the blast line. This is the enemy that makes “I’ll just push through” the most expensive sentence in the demo.
Brute
What it does: absorbs damage, commits to a heavy swing, and keeps advancing. Demo Update #1 tripled its health and reworked its collision, so launch-day impressions are out of date.
What to do: avoid it early. Fight in open space with a real firearm and a clear retreat. Use obstacles to break its approach and reload behind cover. Aim for the window after its swing, not the middle of its charge.
What not to do: fight it in a closet, with a knife, or with a plan that depends on it dying before it reaches you. It has three times the health it had at launch.
Night Roarer
What it does: officially powerful, rare, and nocturnal. It hunts after dark. Its health, speed, weaknesses, and exact counter are not published, and it has not been demonstrated in the public demo material reviewed here.
What to do: plan to be inside or near a defensible position before full darkness. Carry a light and a ranged option, but treat both as attention generators rather than answers. Know your route home.
What not to do: trust a page that gives exact Night Roarer stats. None are official. The correct preparation for an unknown hunter is a route, not a stat sheet.
Toxic mutations and the unrevealed roster
The official description refers to “toxic mutations” as a category. No individual toxic type has been named or demonstrated in the material reviewed here. Treat unidentified infected as a range problem first: observe, keep distance, and do not melee something whose behaviour you cannot read.
Interior fights: the hospital rule
Interiors invert the usual logic. You have cover, but you also have limited exits and no room to dodge.
- Clear the threshold before entering.
- Keep your back to a wall, not to a corridor.
- Listen for a second room before you loot the first.
- Leave the door open behind you if you may need to run; close it if you need a second.
- Do not fight an Exploder in a corridor. Back out and make it come to you.
Night preparation
With darkness now arriving around 9 PM rather than 6 PM, you have more usable daylight. Use it.
- Be near a defensible position before full dark.
- Know the route home without the flashlight.
- Carry food, water, and a bandage.
- Decide whether the light is worth the attention.
- Do not start a new POI at dusk unless the reward is worth the exit problem.
What not to trust
The full eleven-type roster, exact health values, weak points, and damage numbers are not public. Any guide that lists all eleven by name is either quoting a source this site has not found or filling the gaps. Compare it to the official store page and the current build before you rely on it.
For a filterable version of these entries, use the threat board. For the reference record, open the infected index.
Last verified
2026-11-19
This guide combines official Beast Studios information with clearly labelled demo observations. Where the public record is empty, the page says so. See the editorial policy and the full source list.