Key facts
- Official text confirms vehicles for travel and transporting supplies.
- Vehicles must be repaired and fueled; losing one far from home can turn a routine journey into a survival problem.
- Demo footage shows a car found and then lost in a ditch inside a radiation zone.
- Vehicle models, seats, cargo capacity, fuel types, and repair costs are not published.
A vehicle is the most consequential piece of loot in a survival game. It changes the radius of the map, the weight of a supply run, and the number of mistakes you can survive. It also makes noise, consumes fuel, and can strand you in a place you would never have walked to.
Never Be Alone confirms vehicles in its official feature list, with a warning that is easy to skim past: keep them repaired and fueled, because losing your transportation far from home can turn a routine journey into a fight for survival. That is not flavour text. It is the design brief for every drive you take.
What is actually confirmed
- Vehicles are used for travel and for transporting supplies.
- They must be repaired and fueled.
- Losing one far from home changes the survival problem.
- They appear in the demo and can be found in the world.
What is not confirmed: vehicle models, seat count, cargo capacity, fuel types, fuel economy, repair materials, winching or recovery systems, and whether vehicles can be upgraded. Any guide that lists a specific car’s storage slots is either datamining or guessing.
The demo lesson: the ditch inside the radiation zone
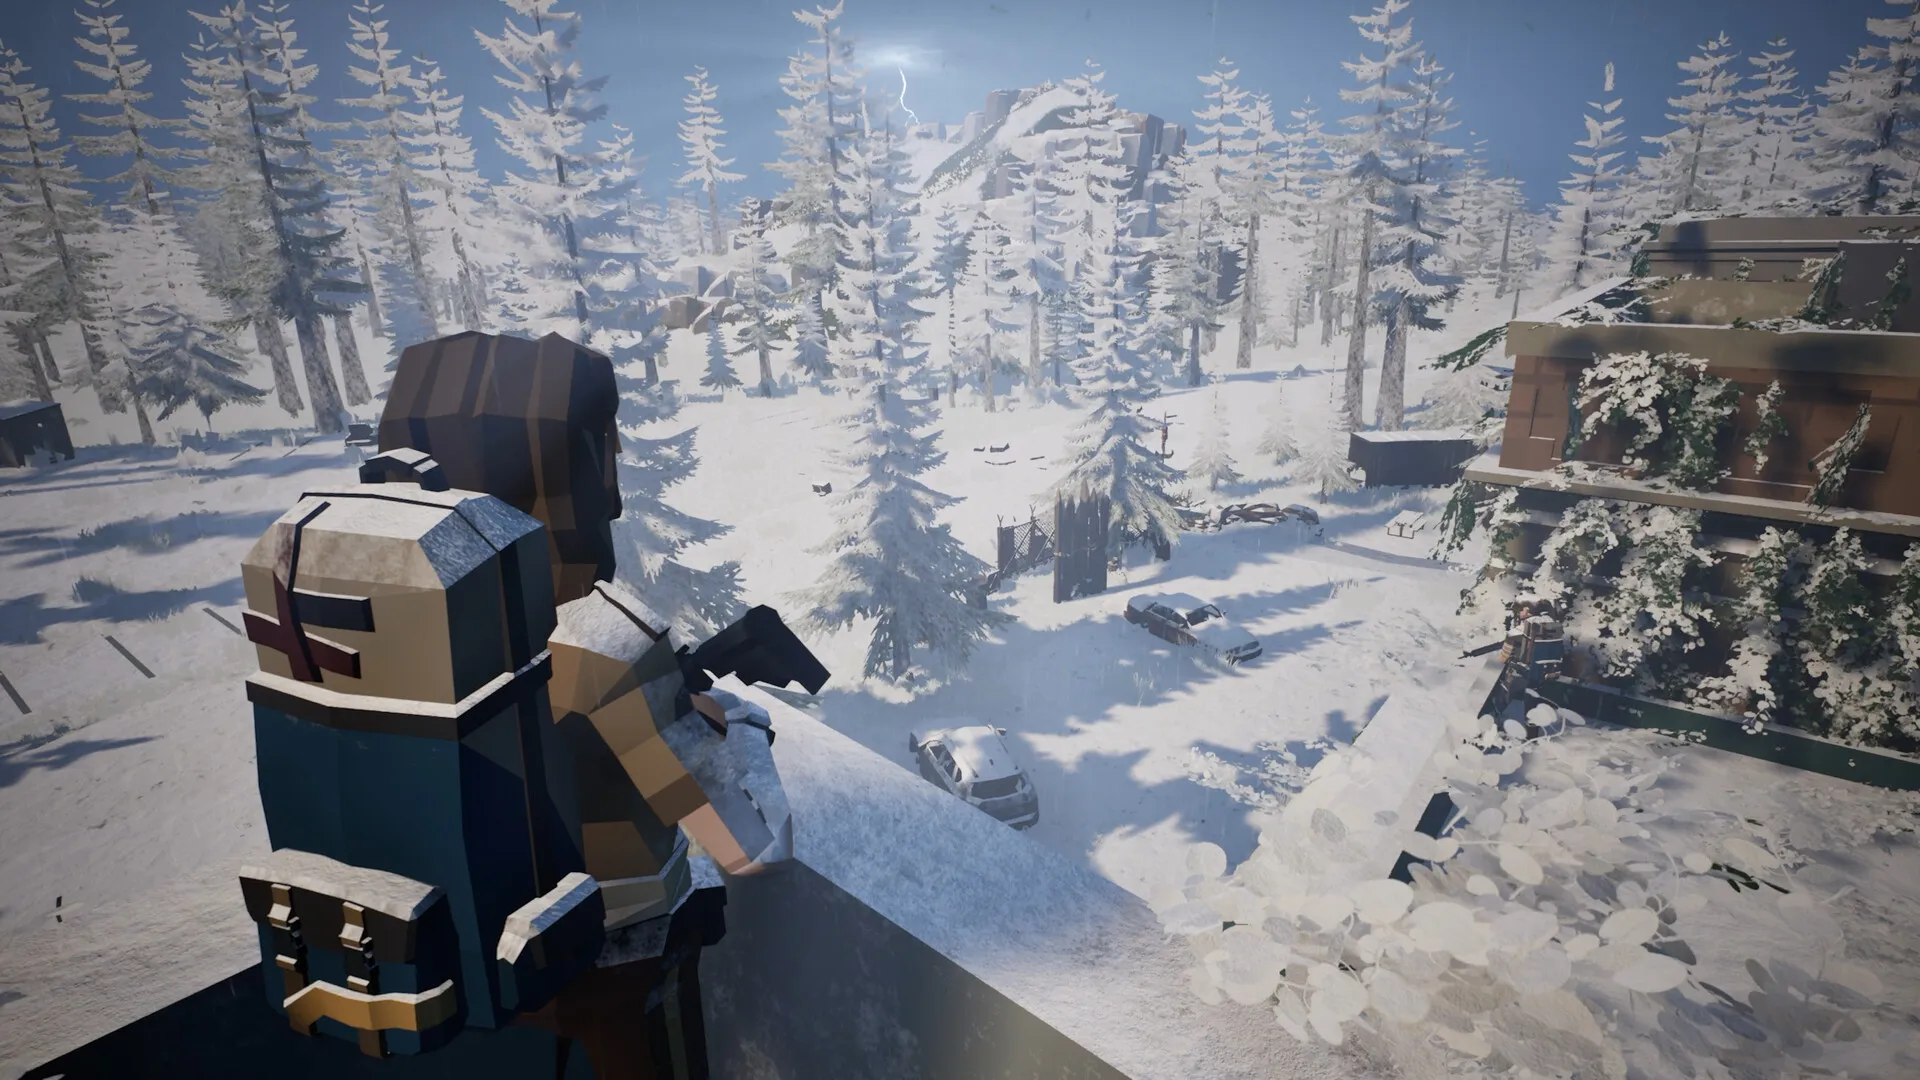
Creator footage from the demo tells a compact story. A car is found after a long search. It lasts about five minutes before it is driven into a ditch inside a radiation zone. The vehicle is no longer a rescue; it is a problem inside a hazard area.
The lesson is not “never drive.” It is:
- Scout the route before you commit the vehicle. A road that looks clear on foot can hide a ditch, a wreck, or a dead end.
- Know the hazard boundary. A radiation zone changes the cost of every minute you spend recovering a mistake.
- Do not drive deeper than you can walk back. The return trip is the real fuel gauge.
- Park facing out. Reversing under pressure is a skill you do not want to discover at the wrong moment.
Noise: the engine is the loudest thing you own
The official text says every shot creates noise. A vehicle engine is a continuous version of the same problem. It announces your approach, your direction, and your departure.
Practical rules:
- Do not drive into the middle of a POI. Park at the edge, on a road you can leave, and walk the last stretch.
- Do not park beside an Exploder. A vehicle is a large, expensive blast radius.
- Do not idle at the safezone gate. The engine is a beacon for the place you are trying to protect.
- Use the engine deliberately. A loud approach can pull infected toward one road while a co-op partner loots another. That is an advanced tactic, not a default.
Fuel and repairs: plan both before you leave
The official warning is that vehicles must be repaired and fueled. It does not publish consumption rates or repair recipes. That means you should treat both as consumable resources with unknown exchange rates:
- Carry a reserve before you need it.
- Repair at the safezone if you can, not at the roadside if you cannot.
- Do not assume a found car is a permanent asset. It is a loan against your supply run.
- If the fuel gauge is not obvious, do not drive past the point of no return while you are still learning the UI.
Creator footage notes that vehicle status was not easy to read during the demo. That is a UI observation, not a confirmed design flaw, but it is a good reason to test your own build before a long trip.
When a vehicle is worth it
Use a vehicle when:
- You are moving bulky material from an industrial or residential cluster.
- A co-op group needs to relocate together.
- The route is known, paved, and has an exit.
- You have fuel, a repair option, and a passenger who can watch the road.
Do not use a vehicle when:
- You are exploring a new POI for the first time.
- The destination is inside a city block, a forest trail, or a radiation zone.
- You are low on fuel and hoping to find more at the destination.
- You are alone and cannot afford to abandon it.
The co-op driver
In a group, the driver is a role, not a taxi service.
- The driver owns fuel, repairs, and the decision to turn back.
- A passenger watches the road and the treeline so the driver can watch the vehicle.
- The group agrees on a rally point before anyone gets out.
- If the vehicle is lost, the group’s plan is to walk, not to argue.
The co-op guide covers the broader role split.
What is still unknown
- Vehicle types and spawn locations.
- Seat count and cargo capacity.
- Fuel item names and consumption.
- Repair costs and durability.
- Whether vehicles can be upgraded, armored, or stored.
- Whether a vehicle can be recovered from a ditch, or only abandoned.
Those answers will come from the Early Access build, not from a wiki guessing ahead of it. Until then, the safe plan is the boring one: short trips, full tank, known road, parked facing home.
Last verified
2026-11-19
This guide combines official Beast Studios information with clearly labelled demo observations. Where the public record is empty, the page says so. See the editorial policy and the full source list.